java -version
$JAVA_HOME/bin/java -versionGetting started using Maven
In this guide you’ll download a skeleton application and run it in development mode, walkthrough the application code and learn a few other things about Werval.
Prerequisites
Java >= 8
You need to install the Java 8 JDK and ensure that both of the following commands show the proper same version:
Should output something like:
java version "1.8.X_XX" (1)
Java(TM) SE Runtime Environment (build 1.8.X_XX-bXXX)
Java HotSpot(TM) 64-Bit Server VM (build XX.XX-bXX, mixed mode)-
This is Java 8
Maven
You also need to install Maven and ensure that the following command show the proper version.
mvn --versionShould output something like:
Apache Maven 3.2.1 (1)
Maven home: /path/to/your/maven/installation
Java version: 1.8.0, vendor: Oracle Corporation (2)
Java home: /path/to/your/java8/installation (3)-
This is Maven 3.2.x
-
Using Java 8
-
From the right JAVA_HOME
TL;DR
For the impatients, here is how to get a Maven skeleton running in development mode quickly:
svn export https://github.com/werval/werval-skel-maven/trunk werval-maven <1>
cd werval-maven <2>
mvn werval:devshell <3>-
Create a new application in a
werval-mavendirectory -
Enter the newly created directory
-
Run in development mode
Create a new application
To create a new Werval application based on Maven, use the following command:
svn export https://github.com/werval/werval-skel-maven/trunk YOUR_APP_NAMEWhere YOUR_APP_NAME is, well, your application name. A directory with this name will be created with the new application in it.
|
Note
|
Why use Subversion?
Github does not support
A command line client for easy usage of application skeletons is under active discussion, planned and will be added in a future release. |
Run in development mode
To run a Werval application in development mode, use the devshell Maven goal:
mvn werval:devshellYour default browser should have opened http://localhost:23023/ showing the following welcome page:
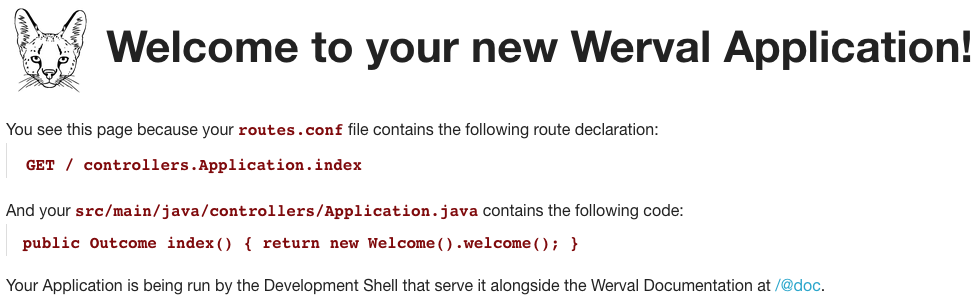
As stated on the welcome page above, when running the Development Shell, the whole Werval documentation is available right from the HTTP server that run your application. Open http://localhost:23023/@doc to browse the documentation. This very article should be available at http://localhost:23023/@doc/getting-started.html but maybe you are already reading it from there.
|
Important
|
In production mode, you need an application’s secret. This secret is a key used for cypher and signature operations, it must be unique per application. Its place is in the application configuration, see mvn werval:secret It is easily appended to the mvn -q werval:secret >> ./src/main/resources/application.conf Once you have properly set your application’s secret, use the mvn werval:start |
Application Walkthrough
The newly created application has a single HTTP route:
./src/main/resources/routes.conf
GET / controllers.Application.indexThat points to this controller method:
./src/main/java/controllers/Application.java
public Outcome index()
{
    return outcomes().ok( "It works!" ).build();
}
Here is the project tree:
├── src
│   └── main
│       ├── java
│       │   └── controllers
│       │       └── Application.java            <= Controller Java Class
│       └── resources
│           ├── application.conf                <= Application Configuration
│           └── routes.conf                     <= Routes
│
└── pom.xml                                     <= Maven build file
You can see that applications generated by werval follow the well known maven directory tree convention. Yes, it could have simplified things a bit to simply use src, app or conf directory names but this way it’s damn easy to add a Gradle or Maven build to such an application.
At the bottom of the tree you can see the Maven build file. Here is what you’ll find inside:
./pom.xml
<?xml version="1.0"?>
<project xmlns="http://maven.apache.org/POM/4.0.0"
         xmlns:xsi="http://www.w3.org/2001/XMLSchema-instance"
         xsi:schemaLocation="http://maven.apache.org/POM/4.0.0 http://maven.apache.org/maven-v4_0_0.xsd">
    <modelVersion>4.0.0</modelVersion>

    <groupId>hello-werval</groupId>
    <artifactId>hello-werval</artifactId>
    <version>1.0-SNAPSHOT</version>

    <properties>
        <project.build.sourceEncoding>UTF-8</project.build.sourceEncoding>
        <project.reporting.outputEncoding>UTF-8</project.reporting.outputEncoding>
    </properties>

    <repositories>
        <repository>
            <id>jcenter</id>
            <url>https://jcenter.bintray.com/</url>
        </repository>
    </repositories>

    <dependencies>
        <dependency>
            <groupId>io.werval</groupId>
            <artifactId>io.werval.api</artifactId>
            <version>0.7.5</version>
        </dependency>
        <dependency>
            <groupId>io.werval</groupId>
            <artifactId>io.werval.server.bootstrap</artifactId>
            <version>0.7.5</version>
            <scope>runtime</scope>
        </dependency>
        <dependency>
            <groupId>io.werval</groupId>
            <artifactId>io.werval.test</artifactId>
            <version>0.7.5</version>
            <scope>test</scope>
        </dependency>
    </dependencies>

    <pluginRepositories>
        <pluginRepository>
            <id>jcenter</id>
            <url>https://jcenter.bintray.com/</url>
        </pluginRepository>
    </pluginRepositories>

    <build>
        <plugins>
            <plugin>
                <artifactId>maven-compiler-plugin</artifactId>
                <version>3.1</version>
                <configuration>
                    <source>1.8</source>
                    <target>1.8</target>
                </configuration>
            </plugin>
            <plugin>
                <groupId>io.werval</groupId>
                <artifactId>io.werval.maven</artifactId>
                <version>0.7.5</version>
            </plugin>
        </plugins>
    </build>

</project>|
Tip
|
See the Werval Maven Plugin guide for more insights. |
Using the DevShell
From now on we’ll take a closer look at Werval Development Shell features. Begin by starting the application in development mode, see above.
At first we will introduce a compilation error in the application sources. Open ./src/main/java/controllers/Application.java and make changes that won’t compile, eg:
package controllers;

import io.werval.controllers.*;

public class Application {

    public Outcome index()
    {
        THIS WON'T COMPILE return new io.werval.controllers.Welcome().welcome(); } }
If you now hit your browser refresh button you’ll see something like that:
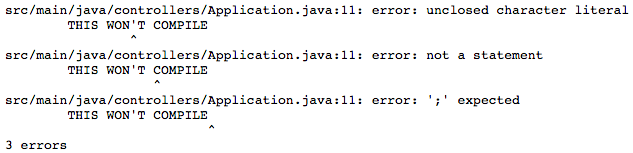
This tells you where the error is.
Now, let’s remove the compilation error but throw an exception:
package controllers;

import io.werval.controllers.*;

public class Application {

    public Outcome index()
        throws java.io.IOException
    {
        if( true )
        {
            Exception crash = new RuntimeException( "Wow, it crashed!" );
            throw new java.io.IOException( "And this would be an explicit error message.", crash );
        }
        return new io.werval.controllers.Welcome().welcome();
    }

}
If you hit your browser refresh button again, this should show up:
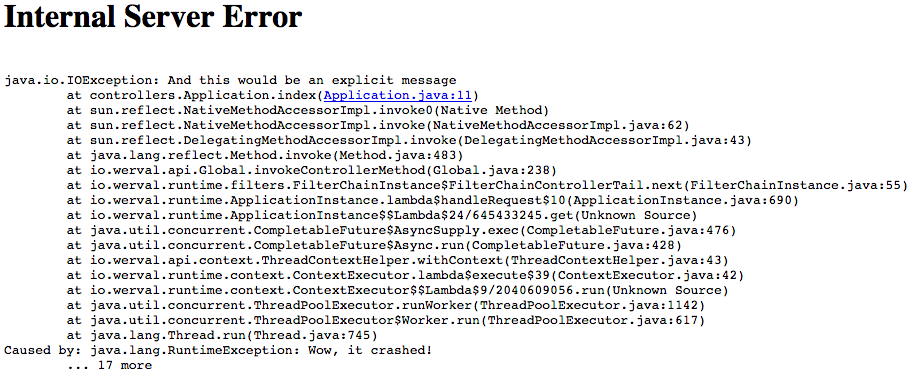
You’ll notice that when application sources are concerned, the error page has links to open them quickly. Of course this will work better if you setup your development environment to open the files with the right applications.
Ok, things are failing well :-) We will now finally say "Hello World" from our HTTP Application.
Change the controller content to:
package controllers;

import io.werval.api.context.*;

public class Application {

    public Outcome index()
    {
        return CurrentContext.outcomes().ok( "Hello World!" ).build();
    }

}
Hit your browser refresh button again. This time you should see Hello World!.
This is how the Werval Development Shell gives you instant feedback when coding.